

In Google Sheets, there is a very simple way that you can make the column width automatically fit your text, which is called “Fit to data”. This is a very useful and simple trick that will save you time, and add to your set of important, basic spreadsheet skills.
When you use the “fit to data” option, columns will shrink and expand automatically so that the columns fit the longest string of text in each column.
To automatically resize columns / autofit column width in Google Sheets, simply hover your cursor at the top right of the column that you want to autofit, and double-click when the double set of arrows appear (Indicating that Google Sheets is ready to resize columns).
Or, you can also use the method described below.
To autofit column width in Google Sheets, follow these steps:
- Select the column(s) that you want to automatically resize
- Right click at the top of a selected column
- Click “Resize column…”
- In the menu that pops up, click “Fit to data”
- Click “OK”
After following the steps above, your column or columns will have adjusted so that the width fits the text in each column.
This lesson focuses on how to automatically adjust columns and rows in Google Sheets, and the method for Microsoft Excel is similar but has important differences, so click here if you want to learn how to automatically adjust column width and row height in Microsoft Excel.
Watch the video below to walk through the examples of using “fit to data” / “autofit”.
Click here to get your Google Sheets cheat sheet
Or click here to take the dashboards course
Below you will find more detailed instructions on how to automatically resize column width, and then I will show you several more examples. But first, let’s go over the “Fit to data” shortcut, as this will make things faster for you.
Google Sheets fit to data shortcut
The easiest way to automatically resize column width in Google Sheets is to use the “fit to data” shortcut. When using the fit to data shortcut, instead of clicking and dragging your cursor to manually adjust column width… all you have to do is double-click to fit the column width to the text in the cells.
To use the fit to data shortcut to autofit column width in Google Sheets, follow these steps:
- Hover your cursor at the top-right of the column to be adjusted, over the line that separates the columns. Your cursor will turn into a set of horizontal arrows that point left and right
- Double-click your mouse while the horizontal arrows are displayed, and your column will automatically adjust to fit the text
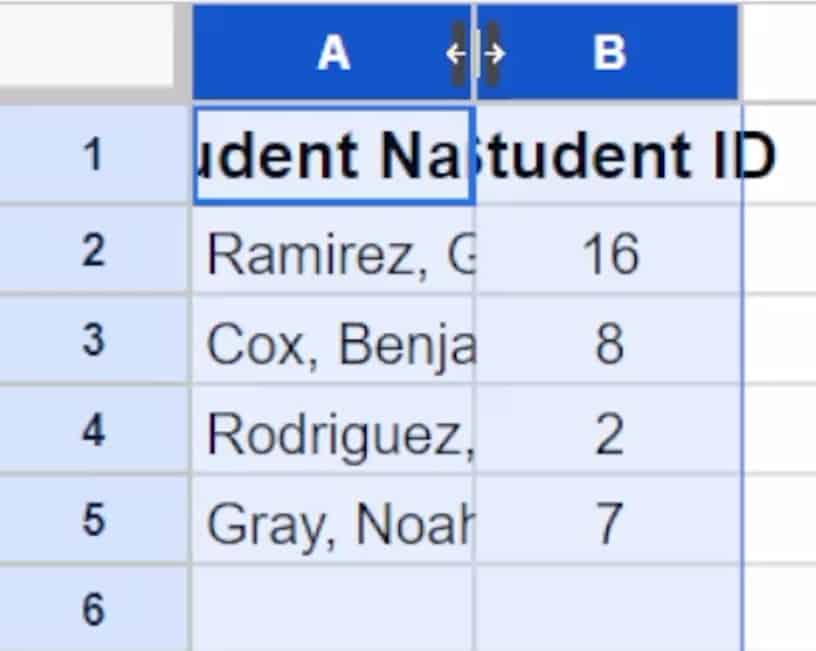
In the image below, you can see that the text in the columns is too long to fit within the cells / columns.
To make the cells fit the text, select the columns, hover the cursor at the top between the columns until the double arrows appear, then double-click (as shown in the image below).
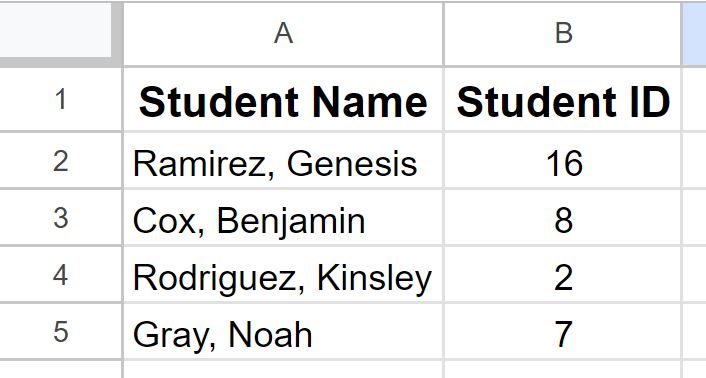
After using the autofit shortcut, the columns have now automatically adjusted to fit the text inside the cells, as shown in the image below.
Make sure that you put your cursor to the right of the column that you want to adjust, especially when only adjusting one column.
If you are only adjusting one column, you do not need to select the column before using the shortcut.
If you select multiple columns, you can double-click at the top of any of the selected columns to adjust them all at once.
In this lesson I will show you how to autofit the width of single columns, and then I will also show you how to autofit multiple columns at once.
If you have text inside your cells that is very long and instead of adjusting the column width to fit, you’d rather have the text appear like a paragraph where it continues on a new line every time it reaches the end of a cell, you can wrap the text in your spreadsheet cells. Or you can choose manually where the lines are inserted within the cell.
How to fit cell width to text in Google Sheets
So let’s go over our first example of fitting cell width to text, and while doing so I will give you a more detailed set of instructions than listed above.
In the example data below, you will see a list of names and phone numbers that were entered into column A. The text is too long to fit inside of the cells, and so we will use “Fit to data” to make the column fit the longest piece of text.
Follow these steps to autofit columns in Google Sheets:
Step 1: If you have multiple columns to adjust, select the columns that you would like to fit to your text.
Step 2: Use either of the methods listed below to use “Fit to data”:
Option 1:
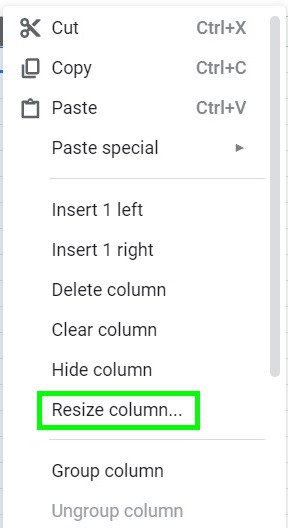
- Right-click on the column that you want to adjust, and select “Resize column…”.
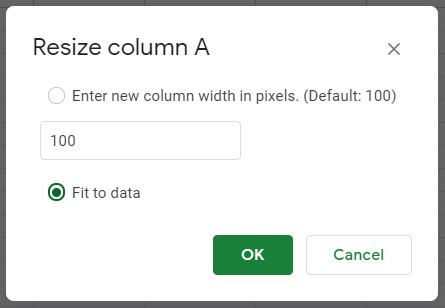
- Then click “Fit to data”
- Click “OK”
Option 2:
- Double-click at the top-right of the column that you want to automatically adjust
(Notice the horizontal arrows at the top of the column in the picture below. This is how your cursor should look when you are ready to double-click your mouse to use the fit to data shortcut.)
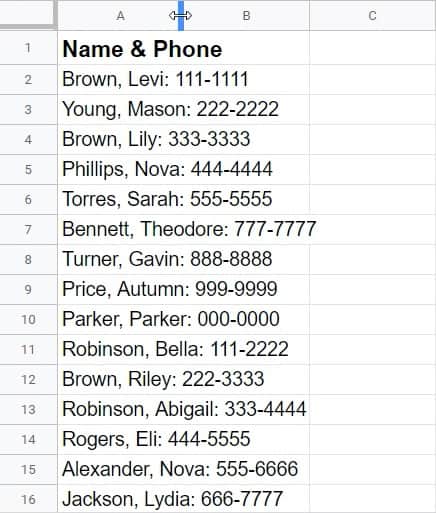
The image below shows the results of using “Fit to data”, and as you can see, column A has been expanded to fit the longest string of text in that column, which in this case is in row 7 (Cell A7).
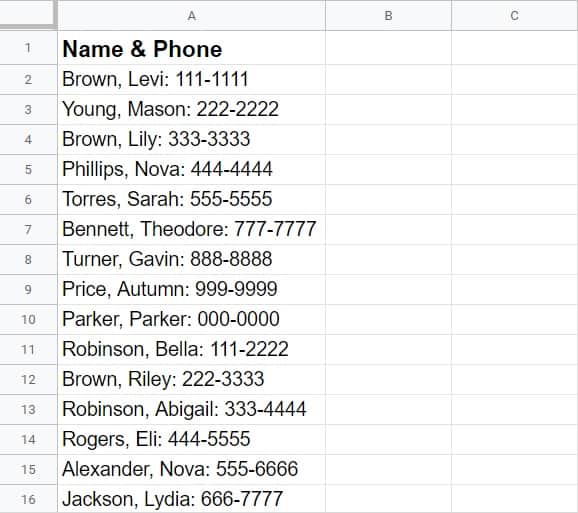
Now the names and phone numbers fit inside the cells, and we made this happen without having to manually set the column width.
For the rest of the examples in this lesson, I will refer to the double-click shortcut method for fitting columns to data automatically. But if you prefer to use the right-click/menu method as described above, this is fine too.
How to expand columns to fit text in Google Sheets
Now let’s take a look at an example of adjusting multiple columns at one time, to fit the text that is inside of them.
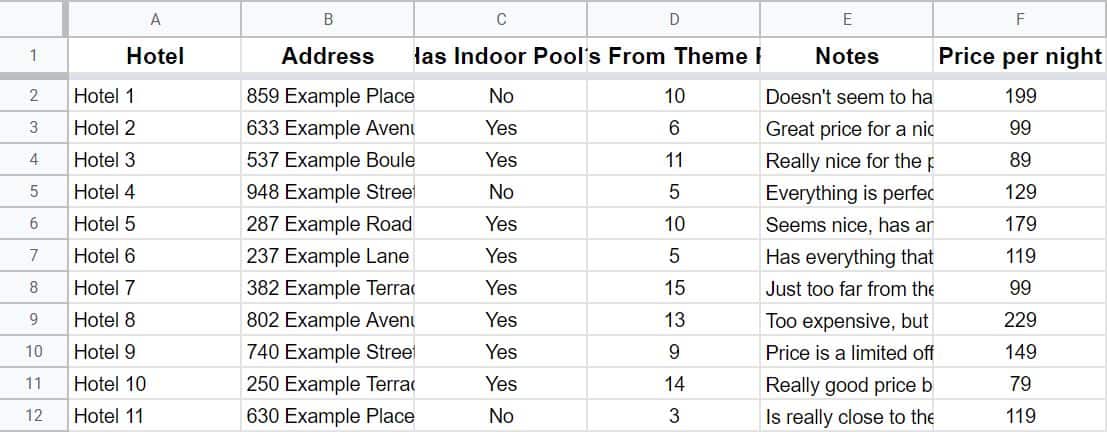
The image below shows information that was recorded about varying hotel possibilities for a vacation.
As you can see, the header text in columns C and D do not fit inside the cells. The text that is in the non-header rows in columns B and E (addresses and notes), does not fit inside the cells either.
We are going to automatically resize columns A through F, to make the columns fit the text in the cells. To do this follow the steps listed below.
Start by selecting columns A through F.
To select multiple columns at once, click on the letter “A” at the top of the first column, and without releasing your click, drag your cursor right until you reach the letter “F” (then release mouse click).
Or, you can also select multiple columns by selecting column A, then pressing the right arrow on the keyboard repeatedly, while holding the shift key, to select additional columns to the right.
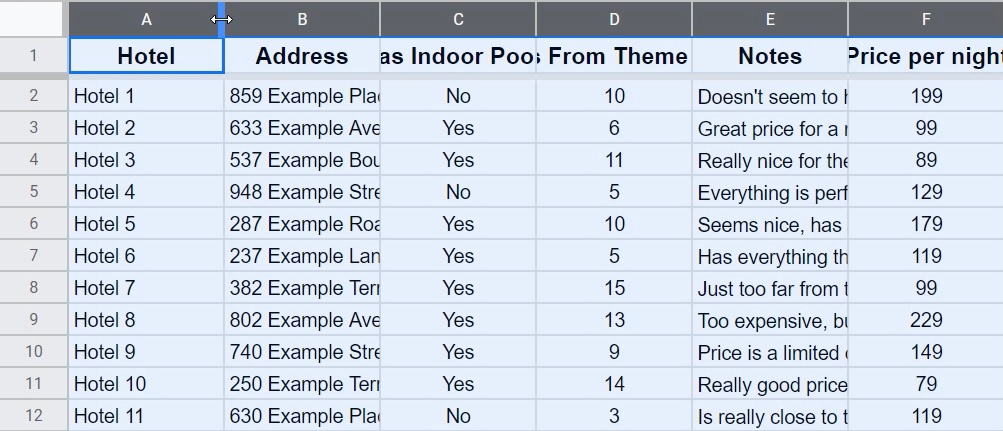
When the columns are properly selected, the top of each selected column will turn dark blue, and the cells in the columns will be highlighted with blue color.
Now hover your cursor over the line between any two of the selected columns, at the very top of the columns.
As you can see in the image below, when your cursor is in the correct position to adjust columns, the cursor will appear as a set of arrows which point left and right. But instead of clicking and dragging your cursor to adjust the columns, we will use the fit to data shortcut.
Now simply double-click your mouse, and the columns will automatically adjust to fit the data in each column.
In the image below, note that some of the columns were widened, and some of them were narrowed. Each column has adjusted to fit the longest string of text that is in that column.
Now you are able to see the header text, the address for each hotel, and the notes that were recorded for each hotel.

How to shrink columns to fit text in Google Sheets
The “fit to data” option in Google Sheets is also useful for shrinking columns to fit text.
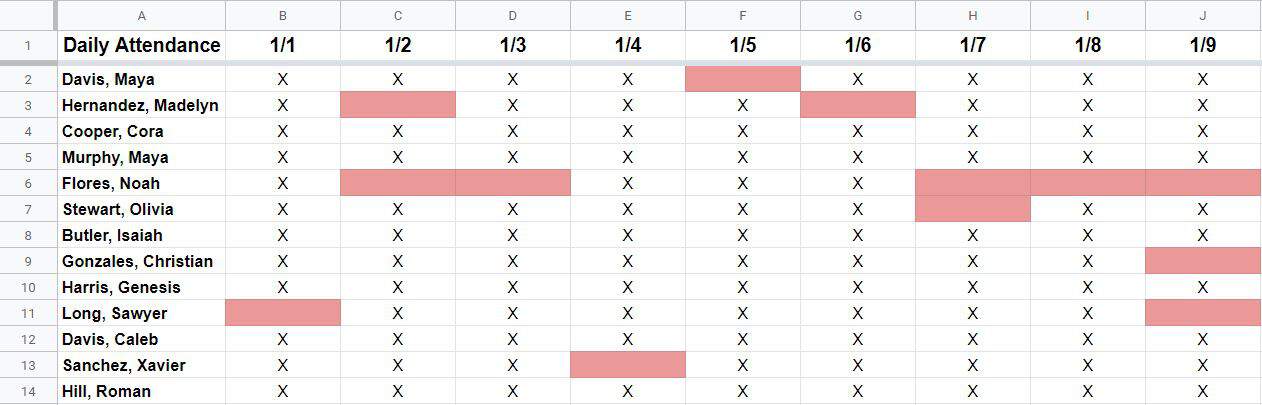
An example of this would be when you are tracking daily attendance in a spreadsheet, and you want the columns for each day to fit the narrow text inside of them.
In the image below you can see that the columns are much wider than they need to be, and so we can use “Fit to data” to automatically adjust the columns to fit the text.
To shrink the columns to fit the text shown in this example, follow these steps:
- Select columns B through J
- Double-click on the line that separates any two of the selected columns (at the very top of the columns), to use the “Fit to data” shortcut
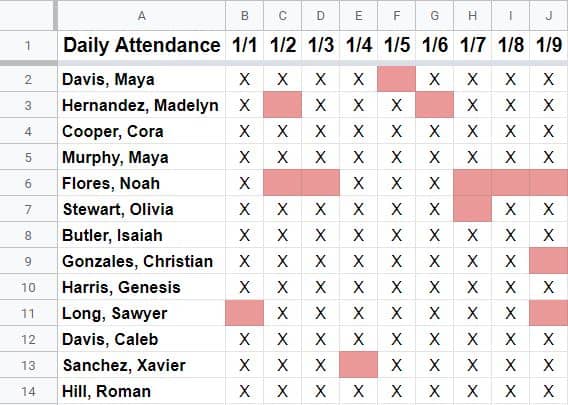
After using “Fit to data”, the columns have narrowed to fit the text inside of each column, and the daily attendance now looks much cleaner and more compact (as shown below).
Because of the balance between the text height and text length, the cells have now turned into nearly perfect squares, which is perfect for recording things like attendance.
How to autofit columns to headers in Google Sheets
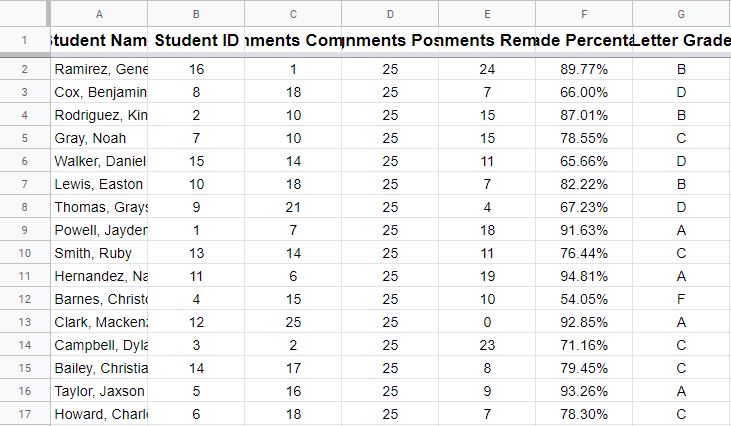
Another situation where “Fit to data” is extremely useful, is when you have headers that are too long to fit inside the default cell width, and you want to quickly adjust each column to fit the headers.
In the image below, you can see that the text that is in row 1 cannot be seen in full, and so we will autofit the columns to fit the longest string of text in each column.
To automatically adjust column width to fit the headers in this example, follow these steps:
- Select columns A through G
- Double-click on the line that separates any two of the selected columns, at the top of the columns
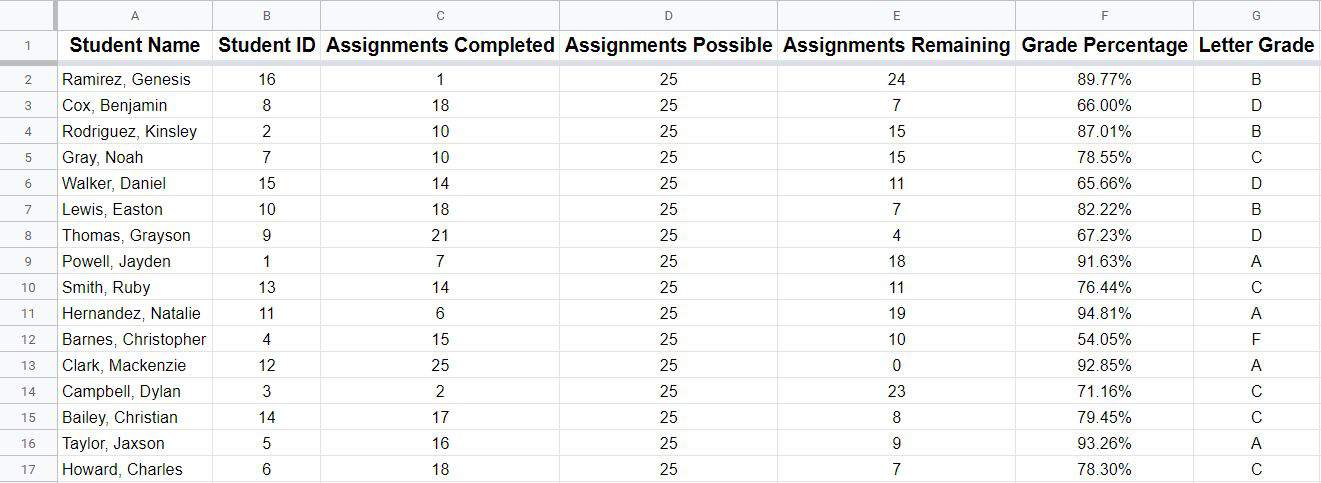
After applying “Fit to data”, the columns expanded to fit the text that is in row 1, as shown in the image below.
Note that some of the columns are wider than others, due to the varying text length in each cell in row 1.
Column A has expanded to fit the longest name in that column, as the longest name is longer than the text that is in the header for that particular column.
How to resize all columns to fit in Google Sheets
Let’s take a look at one more example, where we will automatically adjust the column width to fit the text in the cells, but in this example we will resize all of the columns to fit the text.
To quickly select all of the columns in your spreadsheet, press “Ctrl” + “A” on the keyboard. This will select all of the columns (and rows) in your Google spreadsheet.
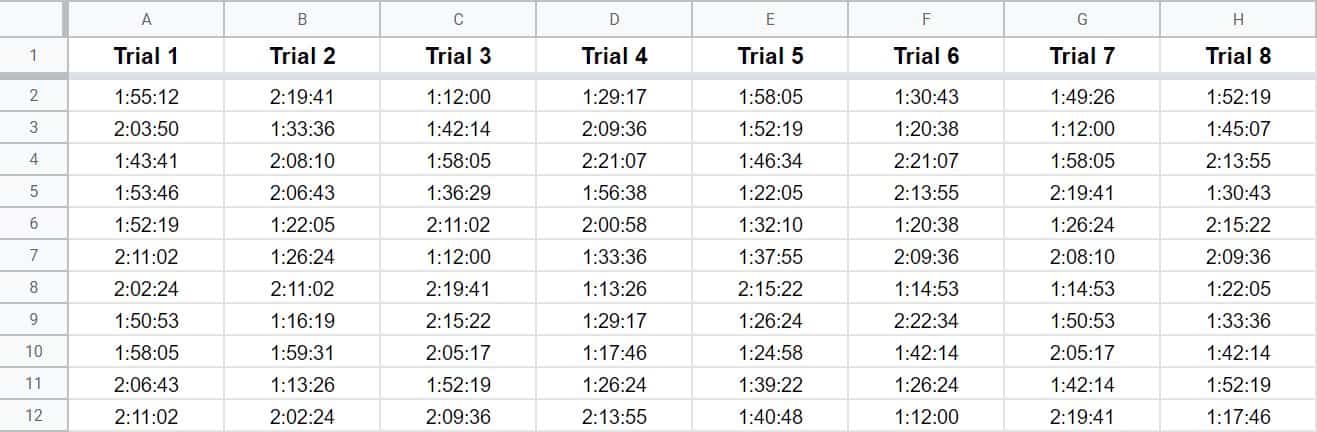
Below the image shows recorded time trial data.
We will use “Fit to data” to resize every column, which in this case will narrow the columns.
To resize all columns in Google Sheets, follow these steps:
- Select every column in your sheet (or every column that you want to adjust)
- Right-click at the top of any of the select columns, click “Resize columns”, select “Fit to data”, and then click “OK”
- Or, if you want, you can use the “Fit to data” shortcut, by double-clicking on the barrier between any two of the selected columns (at the top of the columns)
Since the recorded duration values for each time trial are the same length, the columns have each shrunk down to the same width after applying “Fit to data”.
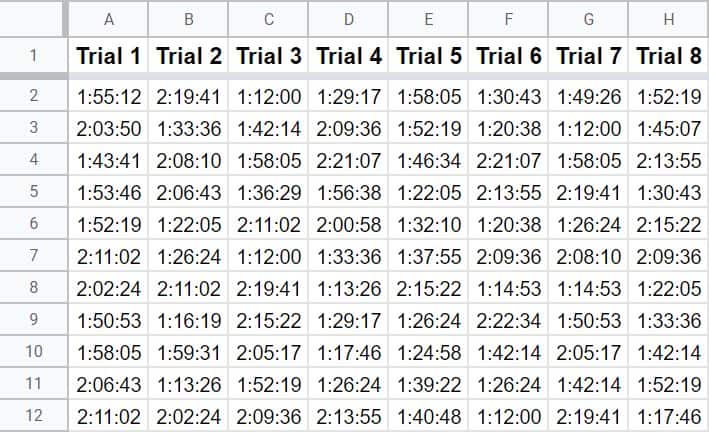
Now you will be able to quickly and easily make your columns fit the text that is inside of them!
This can save you lots of time, and in general will make almost all of your professional spreadsheet tasks much easier.
Click here to get your Google Sheets cheat sheet
Or click here to take the dashboards course
Pop Quiz: Test your knowledge
Answer the questions below about how to autofit column width, to refine your knowledge! Scroll to the very bottom to find the answers to the quiz.
Question #1
True or false: When adjusting the size of a column, double-clicking will adjust the column width to automatically fit the text
- True
- False
Question #2
True or false: The “Fit to data” menu option does the same thing as the double-click method
- True
- False
Question #3
How many columns can be automatically adjusted to autofit text at one time?
- Only 1
- 2
- As many as you want
Question #4
True or false: “Fit to data” will only expand a column, and will not make it more narrow to automatically fit the text
- True
- False
Answers to the questions above:
Question 1: 1
Question 2: 1
Question 3: 3
Question 4: 2